Redash
The following instructions will provide you some steps to configure Hydrolix and Redash. The aim of these instructions are to get you up and running. Tuning we’ll leave to you.
Set-up the Redash server.
The first step is to get your Redash server set-up. The Redash site has some good instructions on how to do this and we suggest you head over there to get the basic server set-up (https://redash.io/help/open-source/setup/).
Add the new Server to your Hydrolix Allow-list.
In order for your Redash server to get access to the Hydrolix cluster you will need to update the allow-list. More information on updating your allow-list can be found here.
Set-up Redash.
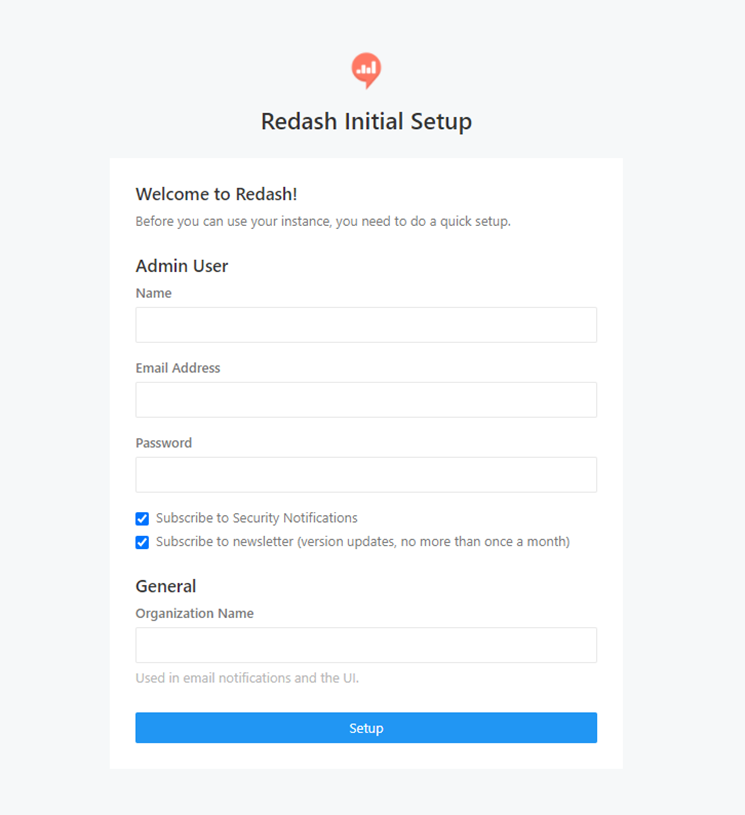
Get your initial set-up done with an Admin user and password.

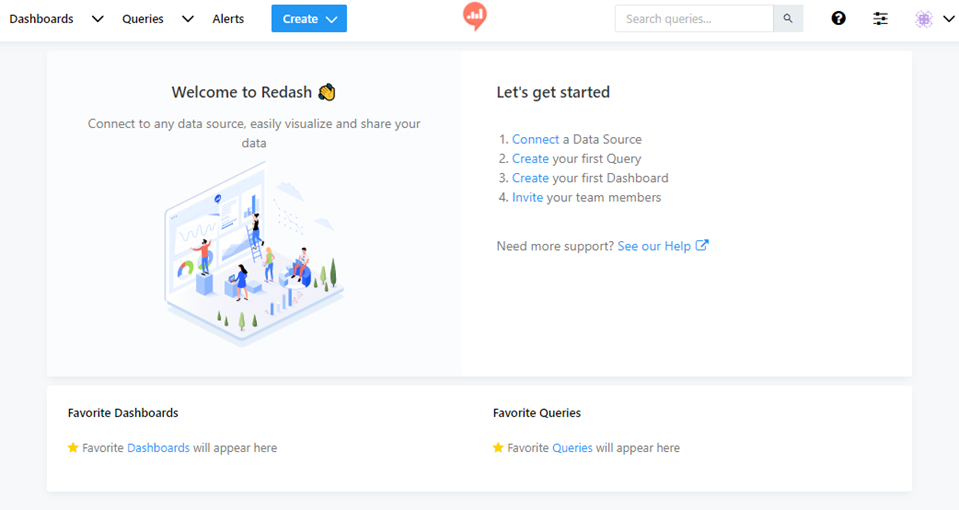
Once logged in you will be presented with the “Lets get started” page. Click the “Connect a Data Source” link.

Select the “ClickHouse” Data Source

Enter the details for your cluster
- "Name" - you wish to use for the Data Source
- "URL" - the URL should be of the format
https://hostname.hydrolix.live:443/query/ - "Request Timeout" – This is up to you, but we suggest 180 seconds.
- "Database Name" – enter the value “hdx”.

Once you click “Create” then Test your connection. You should see a successful response.

You should now have a Data Source similar to the below.

If you now head over to Queries you will now be able to start using the new Data Source.
Updated 5 months ago