Zuplo
Zuplo is a fully-managed API Gateway that can be deployed within various cloud infrastructures (AWS, GCP, Azure) as well as private data centers. Typically, it sits between clients' applications and an API. Zuplo proxies traffic from clients to the API, enforcing protections such as rate limiting, request validation, and authentication while providing an executable code layer between the API and its consumers.
You can read more about Zuplo in What is Zuplo?
This document will cover two methods of integrating Zuplo with Hydrolix.
- Exporting Zuplo logs to Hydrolix (Akamai TrafficPeak) using the Hydrolix / Akamai TrafficPeak Plugin from Zuplo.
- Integrating Zuplo as a Gateway layer in front of a Hydrolix cluster API
Import logs from Zuplo into Hydrolix⚓︎
Before you begin⚓︎
| Item | Description | Example value | How to obtain this information |
|---|---|---|---|
| Cluster hostname | This is the hostname of your Hydrolix cluster. | hostname.hydrolix.live |
This is the value of hydrolix_url in your hydrolixcluster.yaml without the https://. |
| Username | The username Zuplo uses for authentication to your Hydrolix cluster. | user@domain.tld |
Use your Hydrolix user account, not an SSO account. |
| Password | The password for that username. | 00sekret% |
If you don't recall your password, use the Forgot password? option on your Hydrolix cluster login page. |
| Table access token | The table access token for the destination table, set as HYDROLIX_TOKEN in Zuplo. It can't be empty. |
example_token |
See Require table access tokens. If the table doesn't require tokens, any non-empty value works. |
| Table name | This is the destination to which you will route data from your Zuplo instance. You will need the name of the table you want to store Zuplo data in using the format project_name.table_name. |
zuplo_project.zuplo_table |
Follow these instructions to create a table. |
The Zuplo plugin authenticates to the HTTP Stream API with HTTP Basic authentication using the username and password, presenting the table access token for the destination table. If ingest authorization is enabled on the cluster, the user account must hold the ingest_table permission for the destination table.
Register a Hydrolix Transform⚓︎
You will need to register a Hydrolix transform. The transform determines how your Zuplo data will be mapped onto your Hydrolix table. You will also need to specify the transform name (zuplojson) within the zuplo.runtime.ts file in a later step.
Reference the Publish Your Transform page for creating and publishing a transform. The following example transform is compatible with the default set of Zuplo logs. To correctly map custom Zuplo log output, the transform may need to be altered.
Zuplo default log output transform
Configure the Hydrolix plugin⚓︎
Follow the instructions to set up the Hydrolix / Akamai Traffic Peak Plugin. You will need the information specified in Before you begin to configure the zuplo.runtime.ts file.
Add Grafana dashboards (optional)⚓︎
You can create Grafana dashboards for the default Zuplo logs using the following instructions and dashboard JSON objects.
- Save one of the JSON object files from the links below.
- Login to your Grafana instance.
- Open Dashboards in the left-hand nav.
- Select New > New Dashboard.
- Select Import Dashboard.
- Select Upload dashboard JSON file.
- Select the dashboard JSON file.
- Select your Hydrolix cluster as the data source.
- Select Import.
You will be automatically redirected to your new Zuplo dashboard.
Dashboard JSON Links⚓︎
- Zuplo Geo Distribution
- Zuplo High Level
- Zuplo Main Dashboard
- Zuplo Request Summaries
- Zuplo Standard Metrics
- Zuplo Status Codes and Error Rates
Integrate Zuplo as an API gateway for Hydrolix⚓︎
The following steps generate an API gateway in Zuplo by importing an OpenAPI schema representation of the Hydrolix Config API.
Import the Hydrolix OpenAPI schema⚓︎
The following OpenAPI schema is compatible with a v5.1.2 Hydrolix cluster and may be incompatible with other cluster versions. Copy the content into a file called hdx-config-api.yaml.
Replace the last line
with the domain of your running Hydrolix cluster. Then save the file.
Now within the Zuplo console:
- Open the Code page.
- Select
routes.oas.jsonin the left-hand sidebar navigation. - Select the OpenAPI tab, then Import OpenAPI > Choose File.
- Select the
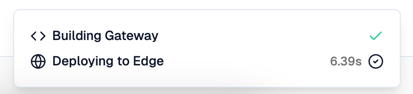
hdx-config-api.yamland confirm with Complete Merge. - In the bottom left-hand corner, select Save. Wait for the confirmation in the bottom right-hand corner indicating that the changes have been deployed to the gateway.
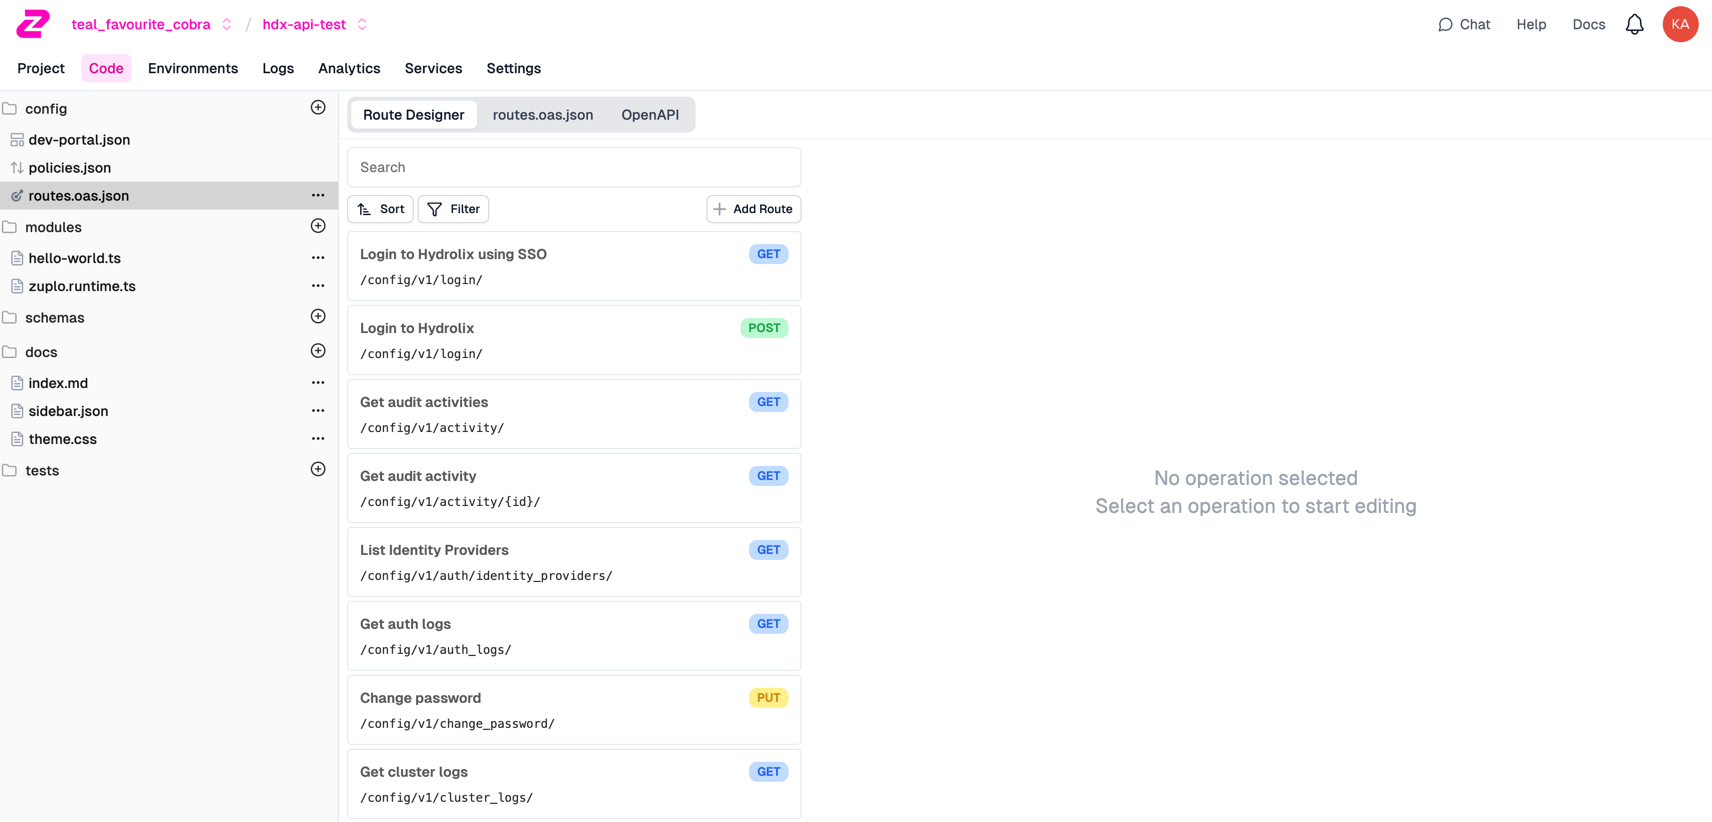
- Now if you open the Route Designer tab, you should see Hydrolix endpoints.
Test some endpoints⚓︎
Now that the Zuplo API gateway is live, you can send some cURL requests to it. The following are some example successful requests and corresponding responses. Replace any commands surrounded in curly braces {} with their values.